_2022044-140204.jpg)
 Free delivery over £30
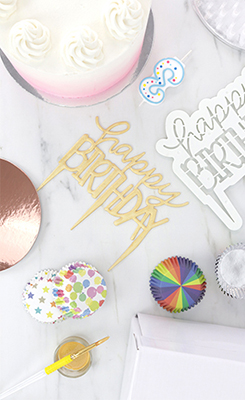
 Cake. Bake. Party!
 Teach PME Classes

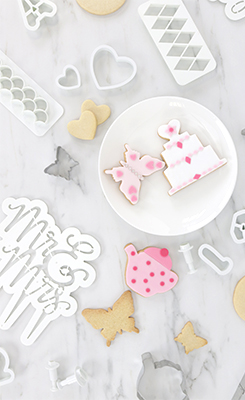
The Best No Spread Cut-out Sugar Cookies
Want to know the secret to baking sugar cookies that keep their shape and don’t spread like crazy in the oven? We’re giving you all the tips and tricks to achieve exactly that in this post so keep reading!
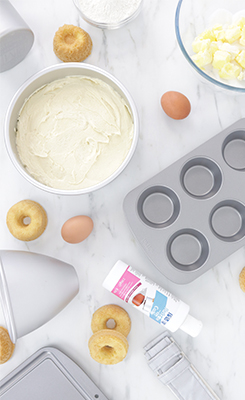
Ingredients:
- 250g Unsalted Butter, Cubed and Cold
- 200g Granulated Sugar
- 2 Eggs
- 500g Plain Flour
- 80g Cornflour
- 1 tsp PME’s Natural Vanilla Bean Paste
- 1 tsp Salt
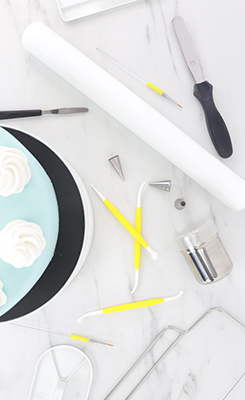
Products used:
This is the perfect base recipe for all your cookie decorating needs. It works great with all types of cutters, and it will keep those edges and nice and sharp making it perfect if you’re decorating them with Royal Icing.
Oh, and because they won’t lose their shape whilst baking, covering them with Sugar paste is so much easier as you can use the same cutter to get a satisfying fit and clean finish!
The Secret Step to Creating Perfectly Shaped Cookies:
The temperature of your butter! Now the first step of this recipe is to cream the butter and sugar together. Normally we would soften the butter up making it super easy to mix the two together, however there was a day where we needed a cookie ASAP, so we cheated a little and just used cubed cold butter straight from the fridge. That turned out to be a happy mistake as it ended up keeping the dough nice and cold so we didn’t have to set the shapes in the fridge, and baked them straight away! It saved so much time!
Flavouring your Dough:
The sugar cookie recipe below uses our 100% Natural Vanilla Bean Paste, but it can easily be replaced with any of our Natural Flavour range! A favourite of ours is combining the Orange Oil with the Chocolate Flavouring! It tastes exactly like Terry’s Chocolate Orange!
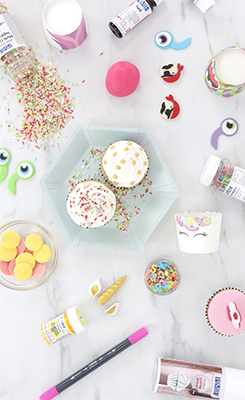
Colouring your Dough:
We have a huge range of food colours, from gels to liquids and even powders so it can be a bit overwhelming when it comes to deciding what the best medium to use is. Liquid colours can be great to use, however, it’s important to note, adding too much can alter the recipe, which is not ideal for cookies that need to keep their shape. That’s why for this recipe we recommend using our concentrated paste colours as they won’t change the consistency of the dough and add these in after the dry ingredients are incorporated! Oh and remember to not add too much! You can always add but you can’t take it away!
Method:
Step 1
1. Preheat oven to 185°C
Step 2
2. In a large bowl or in a stand mixer, cream together the butter and sugar until combined and smooth.
Step 3
3. Add in the eggs and vanilla and again, mix together until everything is incorporated.
Step 4
4. Finally add in the flour, cornflour and salt, and mix on a low to medium speed. At first, it will look like breadcrumbs but after a couple of minutes, the mix will pull away from the sides to form a nice dough!
Step 5
Roll* out the dough between two pieces of parchment paper until it's about ¼ inch thick.
Step 6
Using your chosen cookie cutter, cut out your shapes and place them on a lined tray** and bake*** for 12-15 minutes.
Step 7
7. Once your cookies are cooled, they’re ready to be decorated in royal icing, buttercream or sugar paste!
Recipe Tips:
** If you’re having trouble and misshaping the cookie shapes whilst transferring them to the tray, you can try rolling out, cutting the shapes and spacing them out on parchment the same size as your tray. Then remove the excess dough and transfer the parchment straight to your tray!
*** If you dough seems very soft after you’ve cut out your shapes, pop it in the freezer for 20 minutes before you bake them to help keep the shape!